
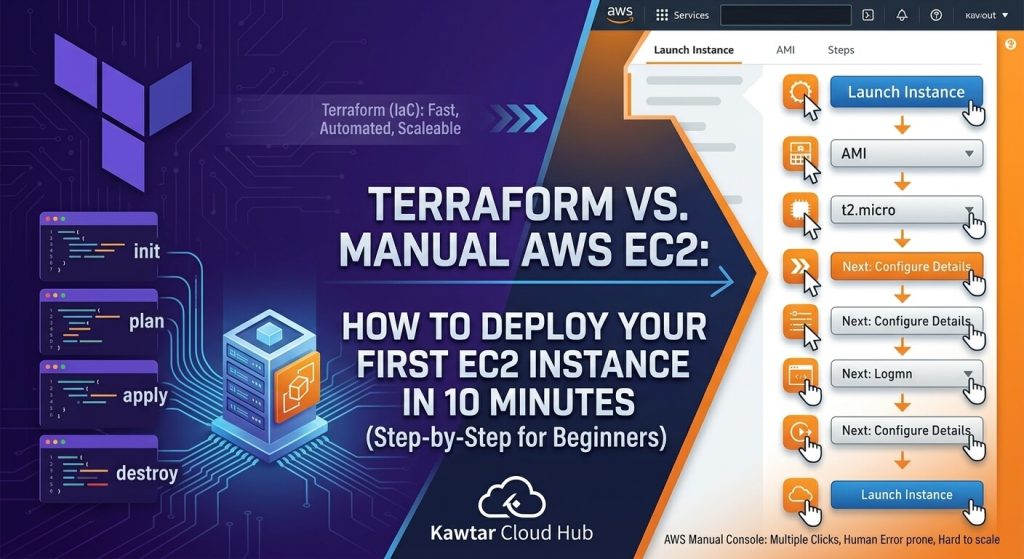
When you first start working with AWS, deploying a server usually means clicking your way through the web console. It’s intuitive and gets the job done, but it quickly becomes repetitive and doesn’t scale.
That’s where Infrastructure as Code changes the game. In this walkthrough, we’ll skip the manual clicking and deploy your first EC2 instance using Terraform—showing you step-by-step why automation is the way to go.
Manual vs. IaC: The AWS Instance Challenge
The Manual Approach (AWS Console)
To deploy a server manually, you log in to the AWS Management Console, navigate to EC2, click “Launch instance,” select an OS (AMI), choose an instance type (like t2.micro for the free tier), configure network settings, add storage, create a key pair, and finally, click “Launch.”
It’s about 10–15 unique clicks and configurations per server.
The Problem: What if you need 50 servers? What if you need to destroy and recreate them every day? Manual configuration is slow, prone to human error, impossible to version control, and extremely difficult to replicate or scale.
The Infrastructure as Code (IaC) Approach (Terraform)
With Terraform, you describe your entire infrastructure in simple, declarative configuration files. You declare “I want one EC2 instance with these specifications.” Terraform calculates what needs to change and makes it happen.
The Solution: It’s consistent, automated, version-controlled, self-documenting, and incredibly scalable. You write once, and you can deploy a thousand times without variation.
Prerequisites
Before we begin, ensure you have:
- A fully activated AWS Free Tier Account. (If you haven’t set this up yet, pause and follow our guide on How to Set Up Your First AWS Free Tier Account Safely first, so you don’t incur unexpected costs).
- Terraform installed locally on your machine.
- AWS CLI installed and configured with programmatic access keys (Access Key ID and Secret Access Key).
Step-by-Step Tutorial: Deploying an EC2 Instance with Terraform
We will use Terraform to manage one small t2.micro instance within the free tier. This ensures you can practice without spending a dime.
1. Create a Project Directory
Open your terminal or command prompt and create a new, empty folder:
mkdir first-terraform-ec2-deployment
cd first-terraform-ec2-deployment
2. Write the Terraform Configuration (main.tf)
Create a new file in this directory named main.tf and paste the following code:
Define the required providers
terraform {
required_providers {
aws = {
source = "hashicorp/aws"
version = "~> 5.0"
}
}
}
Configure the AWS Provider
provider "aws" {
region = "us-east-1"
}
Optional: Create a Security Group to allow SSH (Port 22)
resource "aws_security_group" "allow_ssh" {
name = "allow_ssh_access"
description = "Allow SSH inbound traffic"
ingress {
description = "SSH from VPC"
from_port = 22
to_port = 22
protocol = "tcp"
cidr_blocks = ["0.0.0.0/0"]
}egress {
from_port = 0
to_port = 0
protocol = "-1"
cidr_blocks = ["0.0.0.0/0"]
}tags = {
Name = "KawtarCloudHub-SG"
}
}Deploy the EC2 Instance
resource "aws_instance" "kawtar_cloud_server" {
ami = "ami-0c7217cdde317cfec"
instance_type = "t2.micro"
vpc_security_group_ids = [aws_security_group.allow_ssh.id]tags = {
Name = "KawtarCloudHub-FreeTier-Server"
}
}3. Initialize Terraform
The first time you run Terraform in a directory, you must initialize it. This downloads the necessary AWS provider plugin. Run this command in your terminal:
terraform initYou should see a message saying, “Terraform has been successfully initialized!”
4. Preview the Plan
It’s best practice to preview exactly what Terraform will do before it does it:
terraform planTerraform will output a detailed list showing that it plans to create two new resources. Look for the summary: Plan: 2 to add, 0 to change, 0 to destroy.
5. Apply the Changes
Once you’ve verified the plan, apply it to deploy the infrastructure on AWS:
terraform applyType yes and press enter when prompted. When finished, you will see Apply complete! Resources: 2 added, 0 changed, 0 destroyed.
6. Verify in the AWS Console
Log in to your AWS console and navigate to EC2. You will see a new instance named “KawtarCloudHub-FreeTier-Server” with the ‘Running’ status.
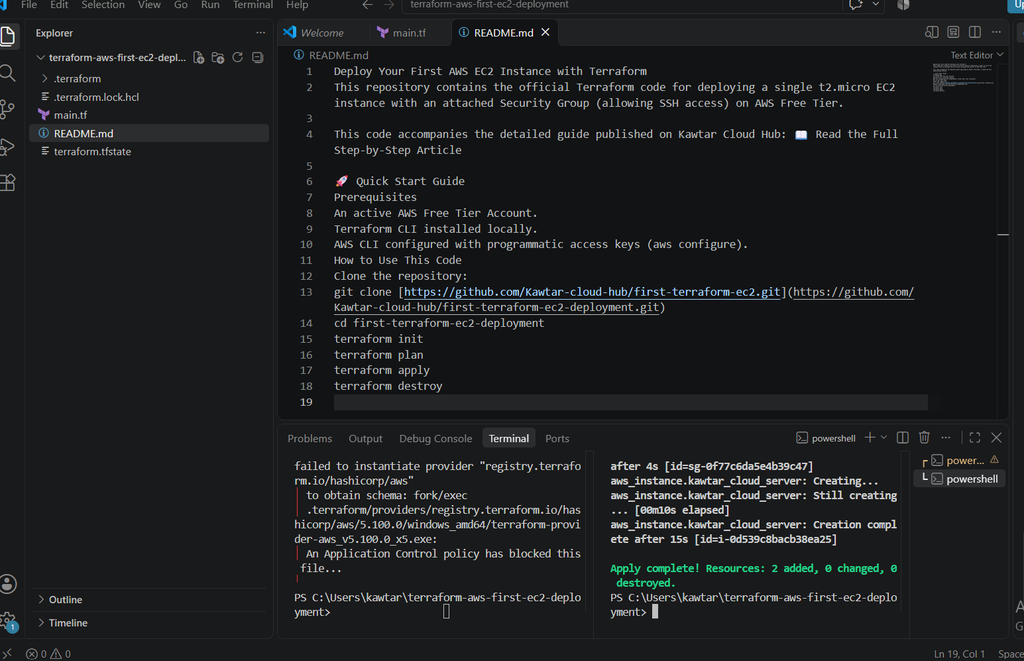
The Clean-Up: Don’t Forget Destroy!
One of the greatest features of IaC is the ability to cleanly remove everything you created. For temporary practice environments, this is vital for cost control.
Simply run:
terraform destroyType yes to confirm. Terraform will completely dismantle and delete the security groupand EC2 instance.
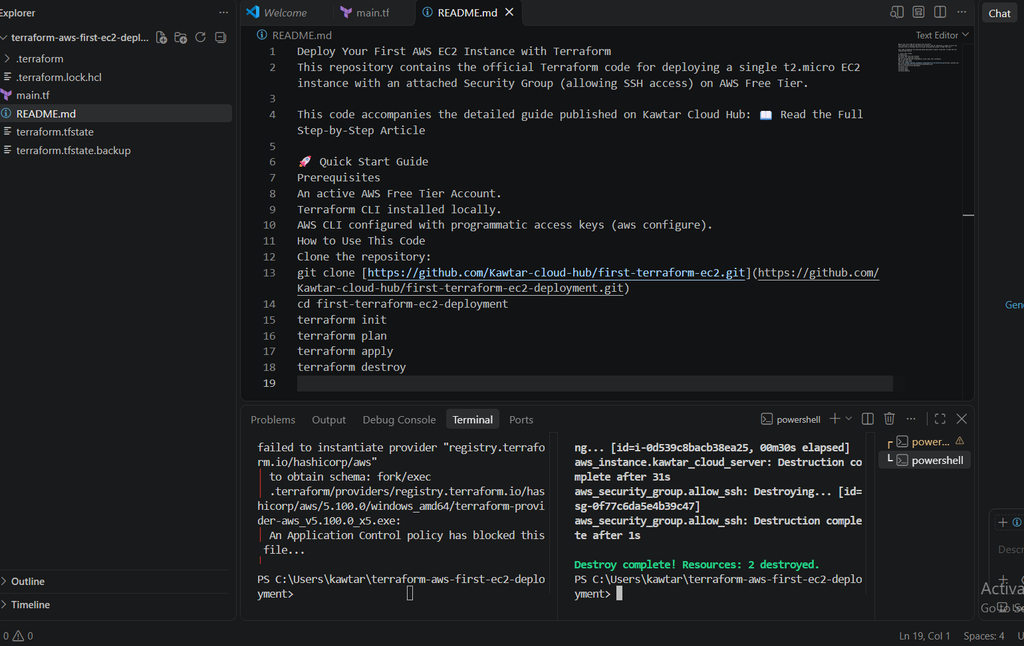
Conclusion & Next Steps
Congratulations! You’ve just taken a huge step forward by deploying your very first cloud infrastructure with Terraform. Moving away from manual click-ops to executing foundational commands like init, plan, apply, and destroy is a game-changer for any aspiring Cloud or DevOps engineer.
As you’ve seen, Infrastructure as Code turns complex setup tasks into a simple, reliable, and repeatable process. To review or practice with the code we used today, feel free to explore the full GitHub Repository for this project.
If you’d like to get a broader perspective on how these pieces fit together, feel free to step back and check out our core guide,The Complete Beginner’s Guide to Cloud & DevOps Engineering. Happy building!